Welcome to our new to us 1960s home.
About 9 months ago we moved to what we hope will be the home we will spend our retirement years in. We'd been planning and preparing to downsize for a few years, and when our daughter and her family moved to a small town about 20 minutes away, we decided it was the perfect place to retire.
Later this month, I'll be sharing a tour of the interior of our house along with some of our planned renovations. But first I'll share what we've done so far.
For the quick version of our summer projects, you can scroll down to watch the video.
Location, location, location!
I think one of the biggest selling features for this house was the location. First of all, it's just a few houses down from the school where our grandkids attend, so if needed, we're right there. And then there's the view... Even though we have neighbours right beside us, we don't really notice them because we live on a curve. Living across the street from a river was NOT on my list of priorities. In fact, having lived through a flooded basement, it was probably the last thing I would have chosen...but look at that view!
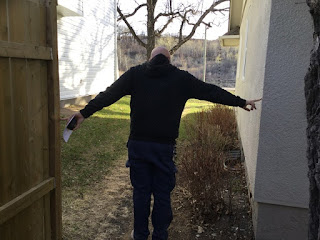
At first, we thought the yard seemed small, but we have a large side yard between the garage and a paved back lane...perfect for storing our utility trailer and piling wood for the fireplace.

A unique feature is that the garage has two doors, one in front and a second one in the back on the alternate side, along with a large parking area.
The back yard does appear to be small in this picture, but it really is a good size.
The first project was a wood fence.
Because we have three small dogs, a fence was a necessity. Our neighbours had already built a fence between us, so we just had to extend it across the rest of the yard and parking area.
On our second visit prior to purchasing, Brian did some rough measuring to see what would be required. We went back a third time with a tape measure!
The day after we moved in, during pouring rain, Brian and our son, Daniel built a temporary kennel for the dogs. Avalie doesn't look too impressed; She'd rather have the freedom to run around the yard!
Within a couple of weeks..on his birthday, Brian got started on the fence.
Tada! All finished!
It actually took a week or so. We discovered the ground here has a lot of rocks, especially shale, so that made digging holes a time-consuming job, but the finished product was worth all the hard work. And the yard looks so much bigger with the fence up!
Come September, we got to work on the deck.
We started the long weekend in September by tearing off the old deck. It was small and in such bad shape that we weren't sure it would last the winter.
We later used some of the scrap lumber to build a planter.
The new deck is built with wood framing and composite deck boards. This was the first time we've used this product so we learned a new skill!
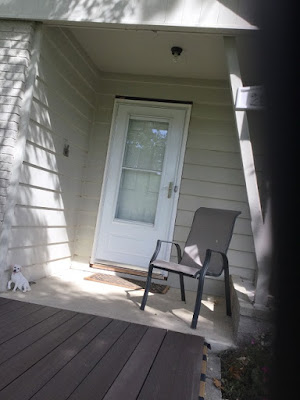
We also wanted to extend the deck across the front of the house to give better access to the front door, rather than always using the garden door.

We brought the deck over the stairs as there was no need for them. The street in front of our house has been built up to create a dike between us and the river, so we don't walk out to the street from there.
We also removed a brick path that used to lead to the street, but now led to a ditch. I called it the path that led to nowhere! It even had lights beside it which also had to be removed.
We reused the bricks between the garage and the deck stairs where we actually needed a path. You can see that in the video.
Once the deck was complete, we added the planter in front. It's lined with metal to protect the wood and hopefully make it last a long time.
Trimming trees was the final project.

I love all the trees in our yard, but some of the branches were just a little too close for comfort and were actually touching the roof.
Others were starting to die and were ready to fall, so we hired someone to come in and take down any branches that might cause damage during a storm.
Finally, time to relax!
And now we wait for spring to start on all the inside renovations we have planned

Thank you for stopping by!
I hope you enjoyed our tour.
Watch for upcoming posts in our 1960s House Renos Series.
You may be interested in our


Wow, you've made a lot of outdoor improvements! Looks good!
ReplyDeleteThanks, Susan!
Delete